Well, it finally happened, the thing I’ve been dreading…yesterday, my precious daughter rolled off the school bus bitching and moaning about the lack of artistic effort that I’ve been putting into her packed lunches. My first thought, “Oh shit, has she been on Pinterest?” My second thought, “We need to update our parental controls to include Pinterest.”
But no, it seems that some better-than-me mother (who, I guarantee, does have a Pinterest account) has been sending her daughter to school everyday with a lunchbox full of “love” in the form of Disney inspired entrees and Chicka Chicka Boom Boom carrots. And Ana has taken notice. Thanks a lot, lady. Thanks. A. Lot.
According to my daughter, Wednesday’s lunchtime was spent watching little Hayden nibble on Elsa’s certified organic noodle braid, while Ana despondently ate from a zip-lock bag filled with pretzels and an enormous amount of apathy. Her tale of woe was really quite heartbreaking. So, like any guilt-ridden mother, I decided to give this stupid Bento Lunch thing a try.
I promised Ana an Olaf lunch, but when I read the first three ingredients: Japanese Nori noodles, purple seaweed, edible modeling clay, I was all, “Oh heeeellll no!” Packing a lunch should not require me to source food from various specialty shops and craft stores. I haven’t shaved in four days and THAT needs to happen before I start driving around town seeking out cuisine for my 5 year old to throw out.
How’s that Meat Loaf song go?
“I would do anything for love, but I won’t do that. Nooooo, I won’t. do. thaaaat.”
But I promised her an Olaf lunch, so it was on to Plan B. Unfortunately, I had no Plan B…at least not until I drank a couple glasses of 2009 Cabernet from the Napa region- that always loosens up my wheels.
And so, exhausted, not-so-perfect mothers everywhere, I’d like to present my “Damn you, Hayden’s mom!” answer to this crazy, expensive, and time consuming lunch fad:
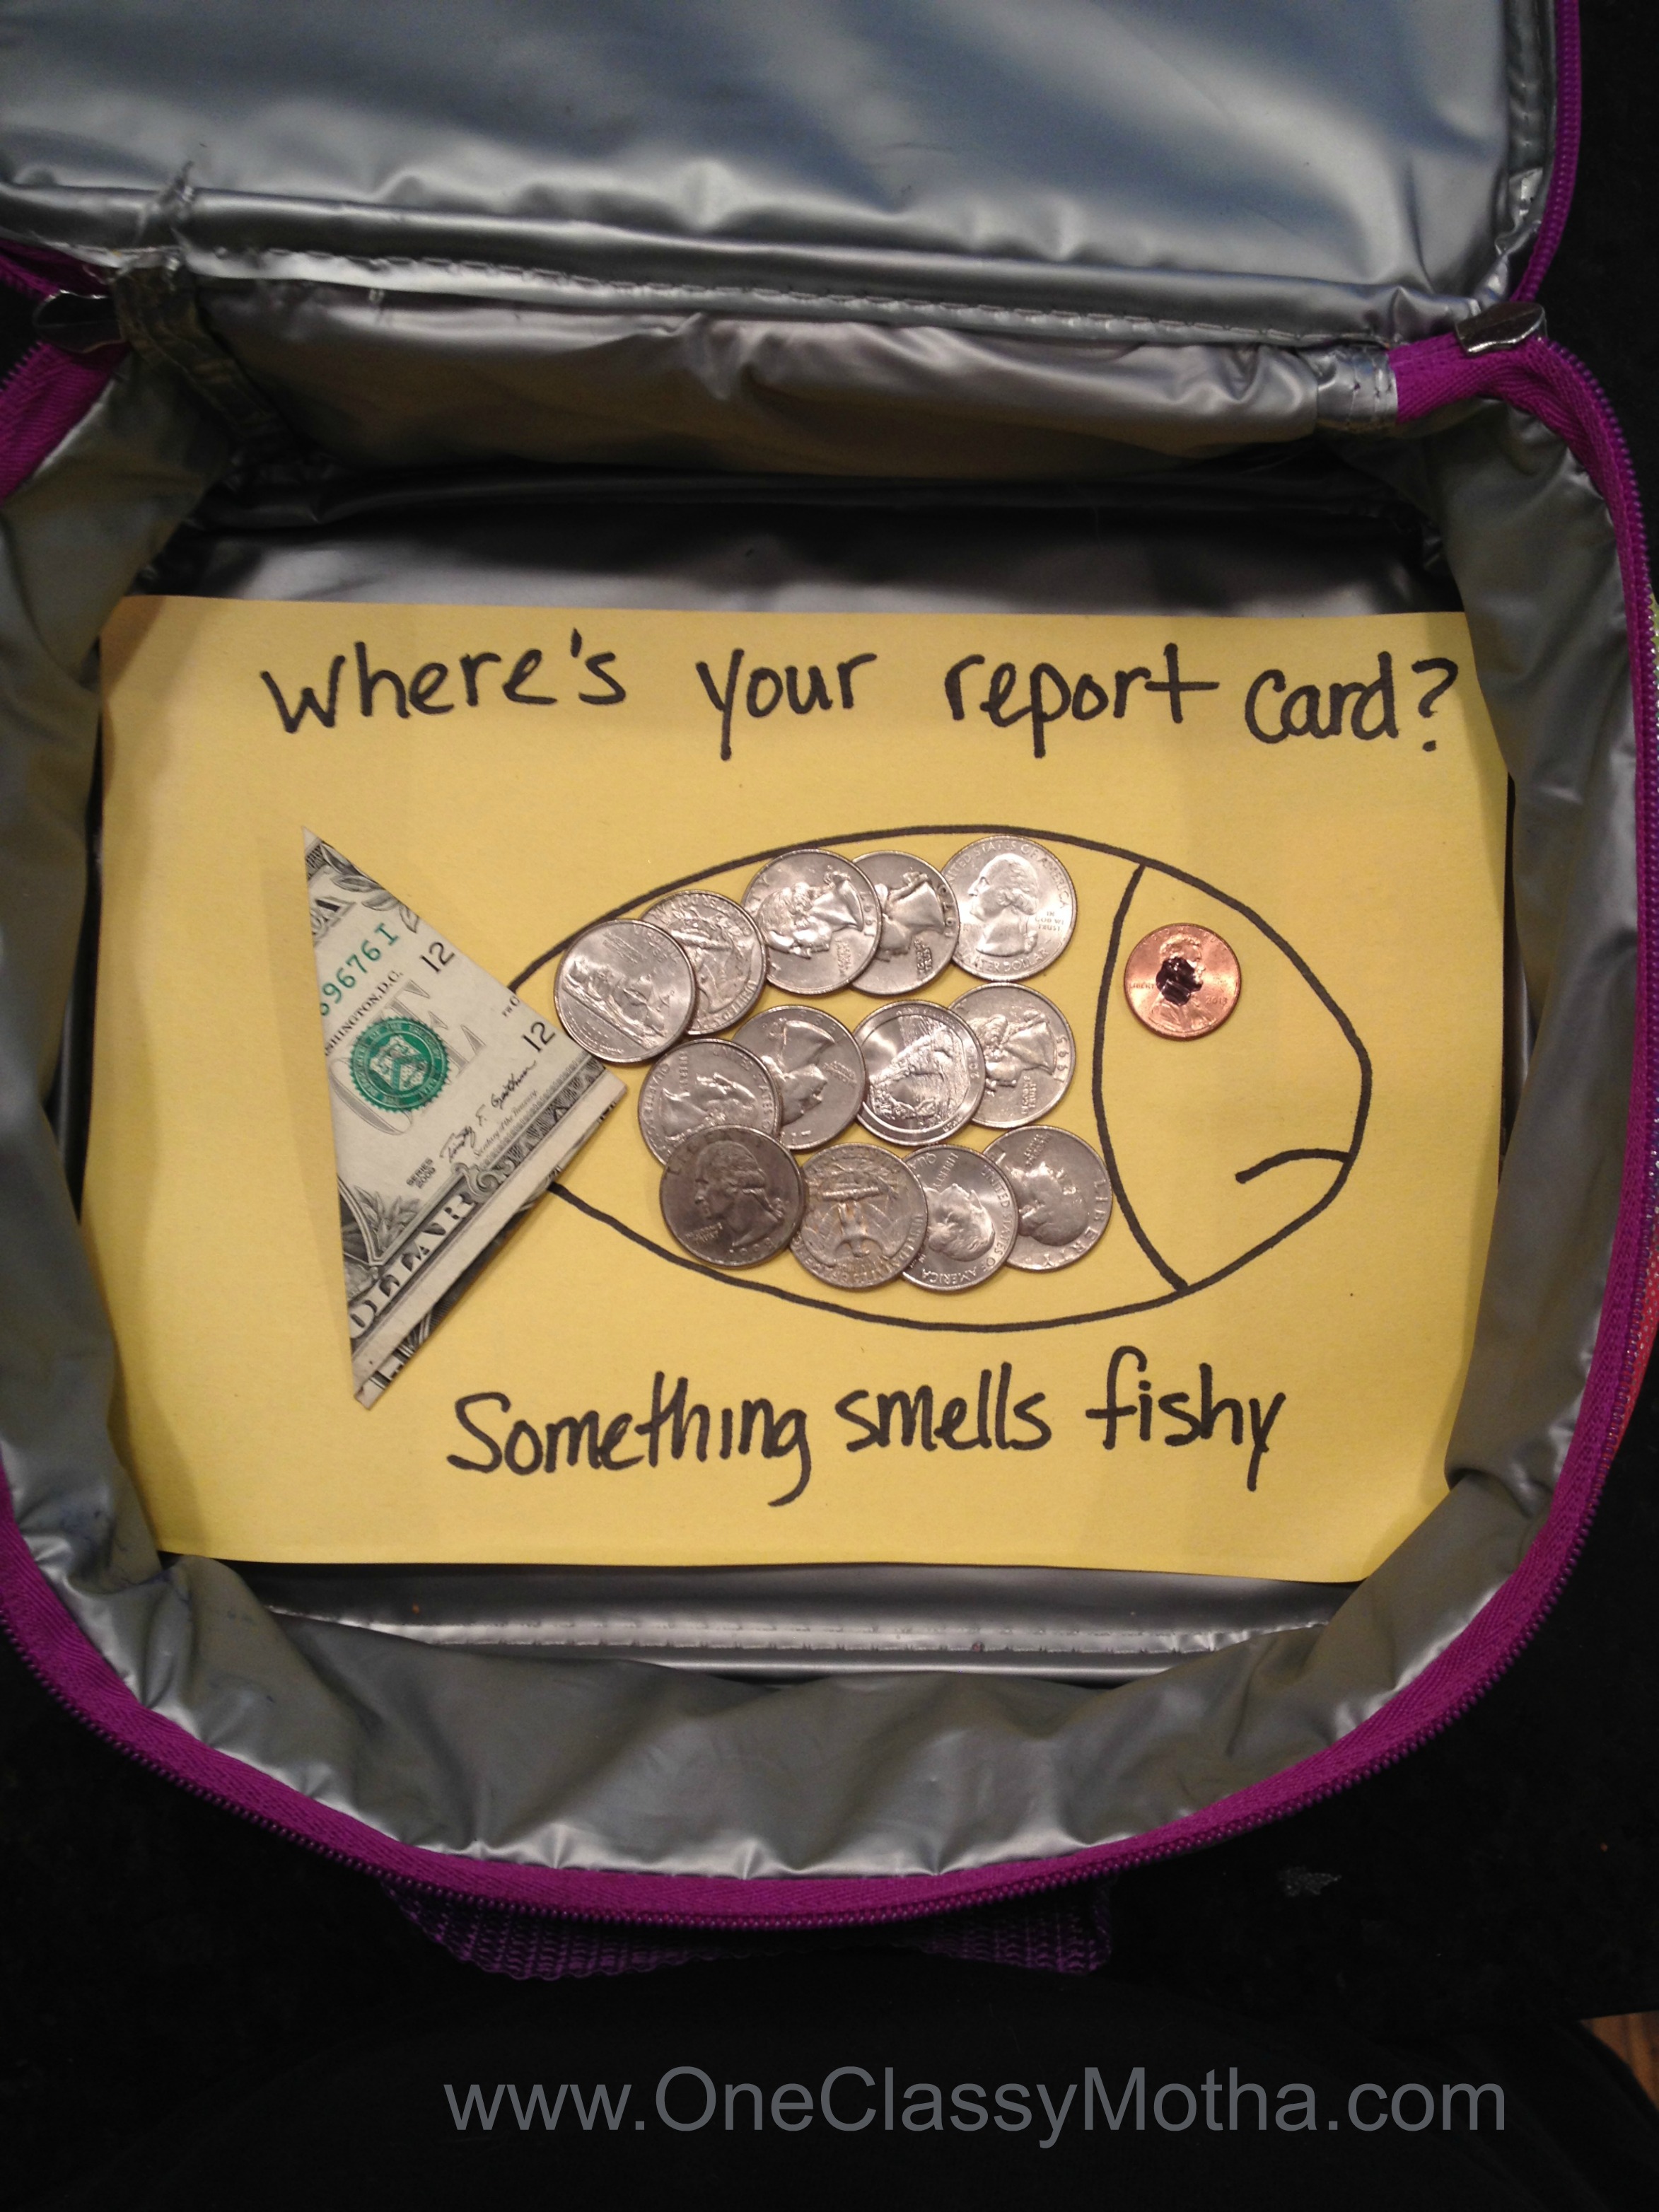
The “I ain’t got time for that. Here’s some lunch money” Bento Box
Step 1: Get lunch money from your purse.
Step 2: Arrange money and tape down
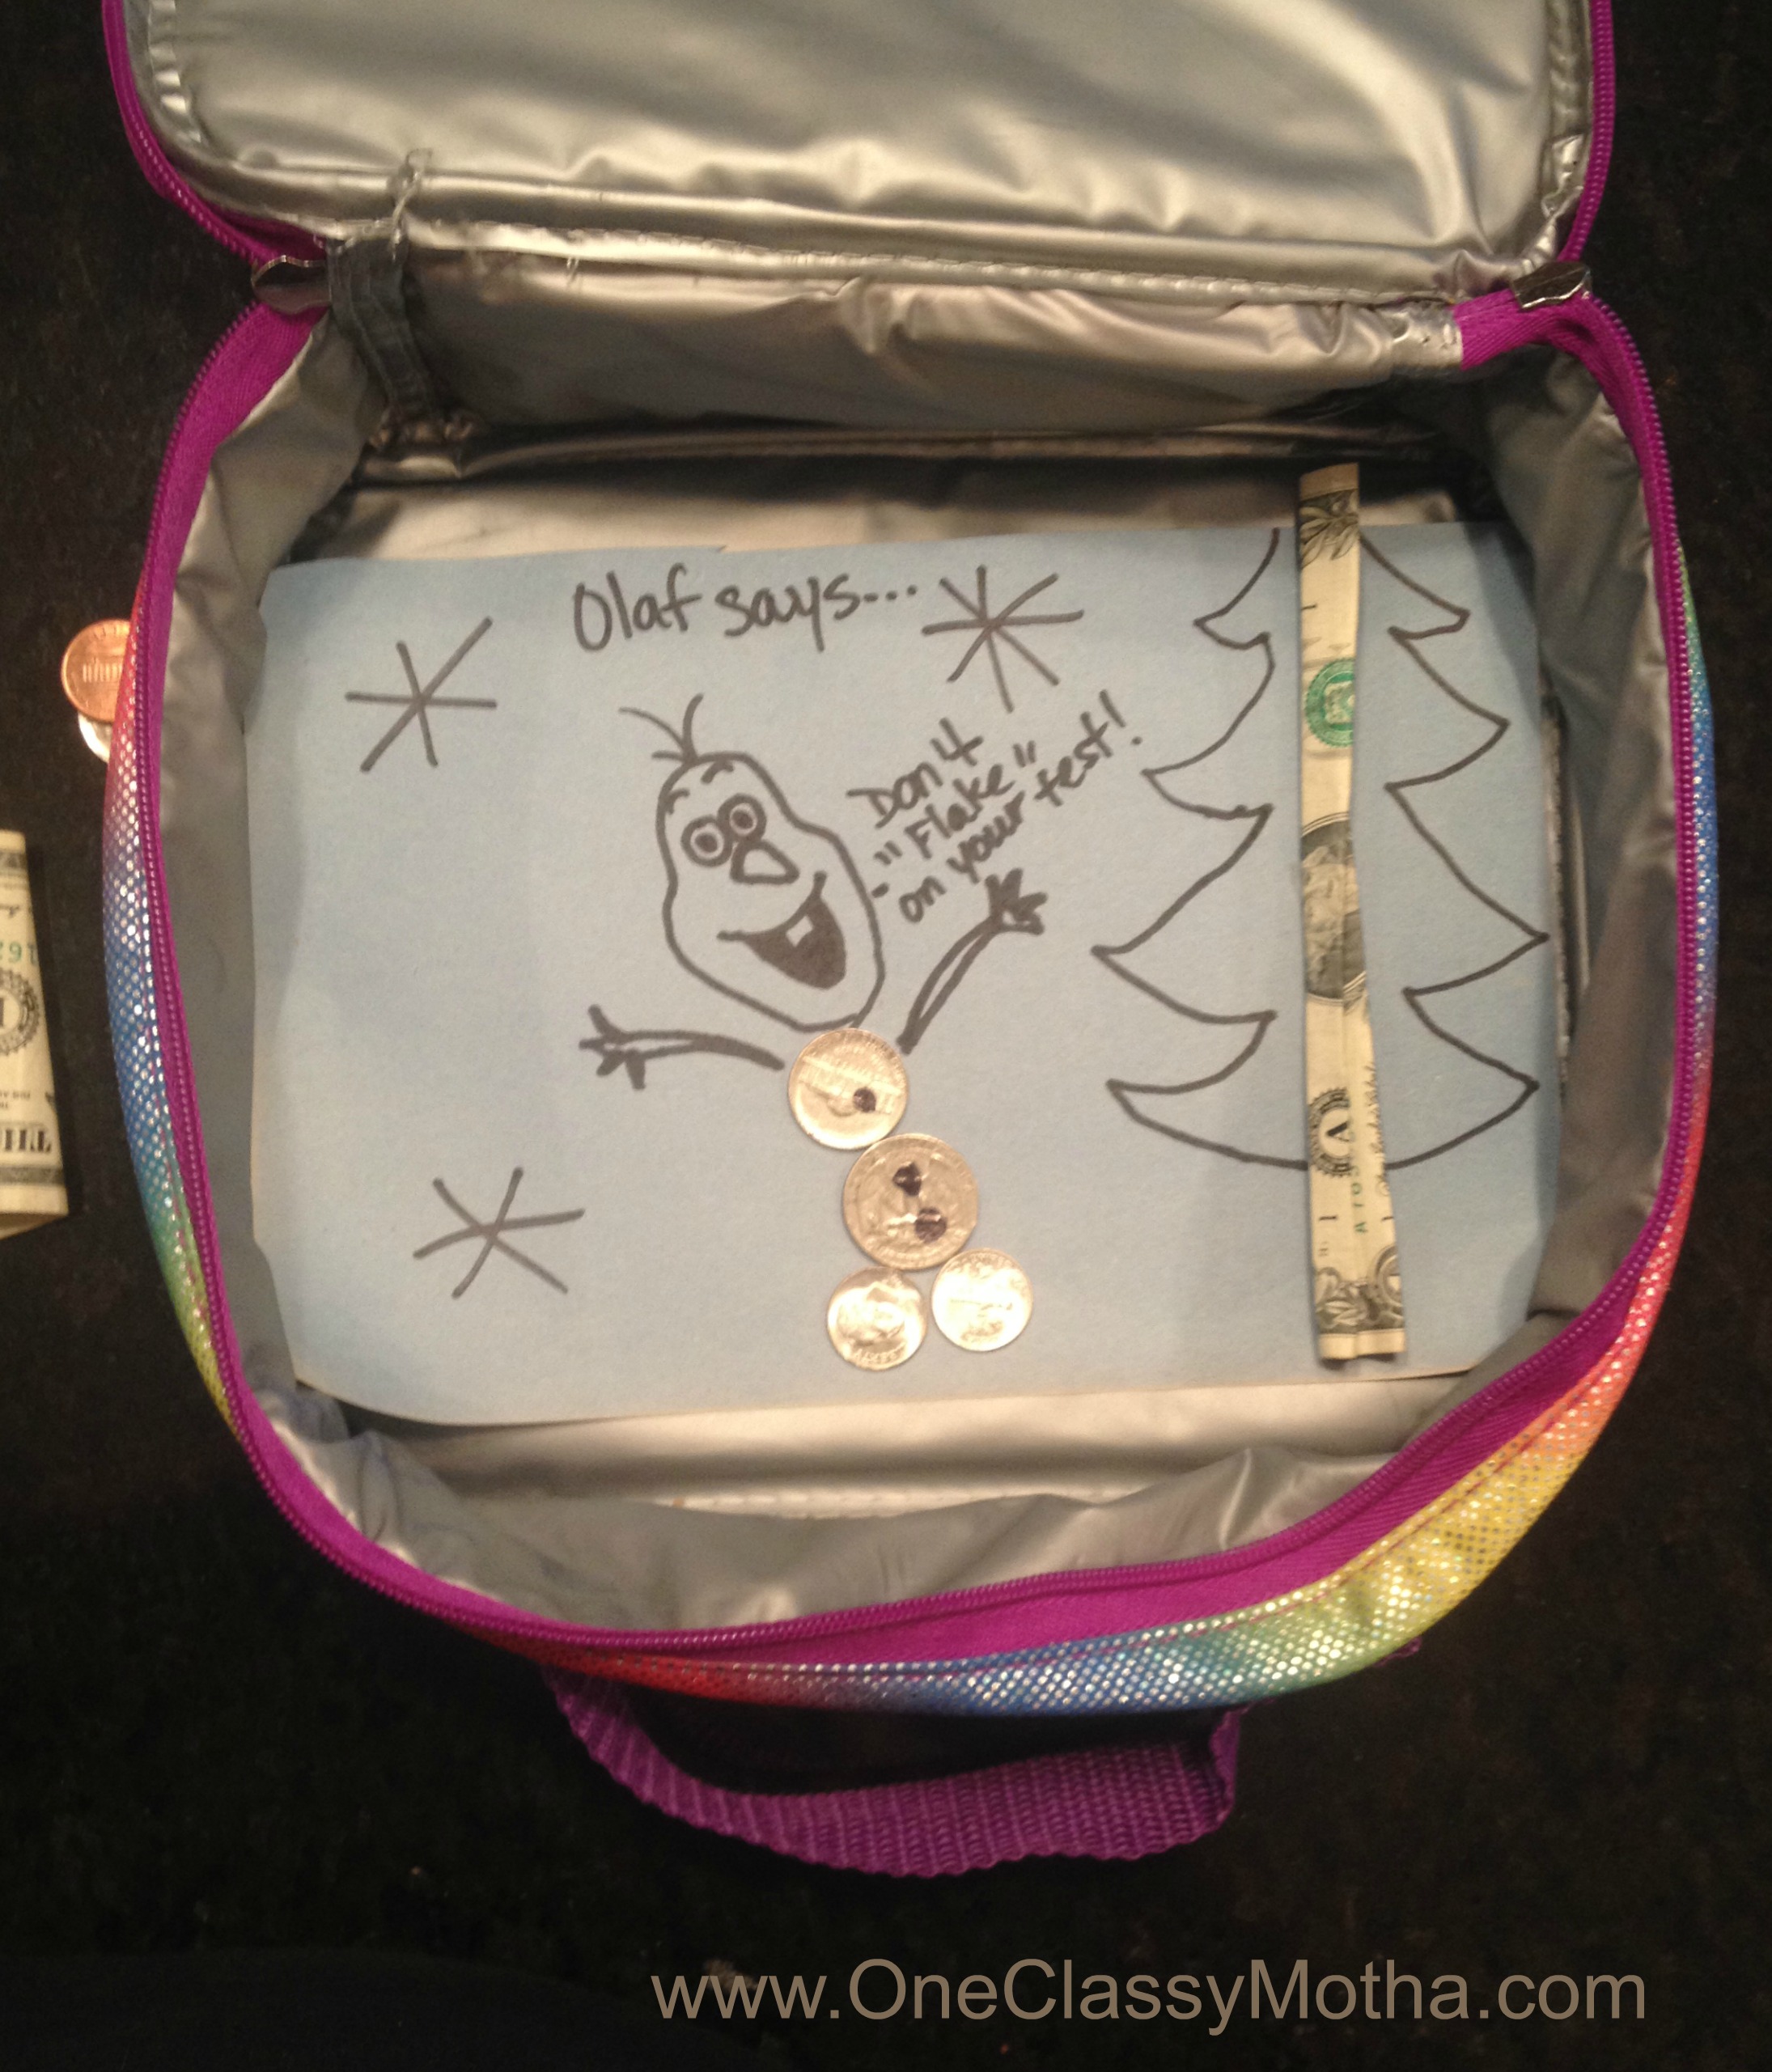
Step 3: Use a Sharpie to draw the rest.
Olaf says…don’t “flake” on your test!
Screw making little broccoli trees with an “I love you!” tediously carved into their stalks with an X-Acto knife while freebasing your blood pressure pills and trying to remember your insurance provider’s Mental Health co-pay. No thank you. Besides, unlike a scene from The Lion King made out of graham crackers and Russian caviar, my “I ain’t got time for that. Here’s some lunch money” Bento Boxes provide the perfect canvas for real communication between you and your child:
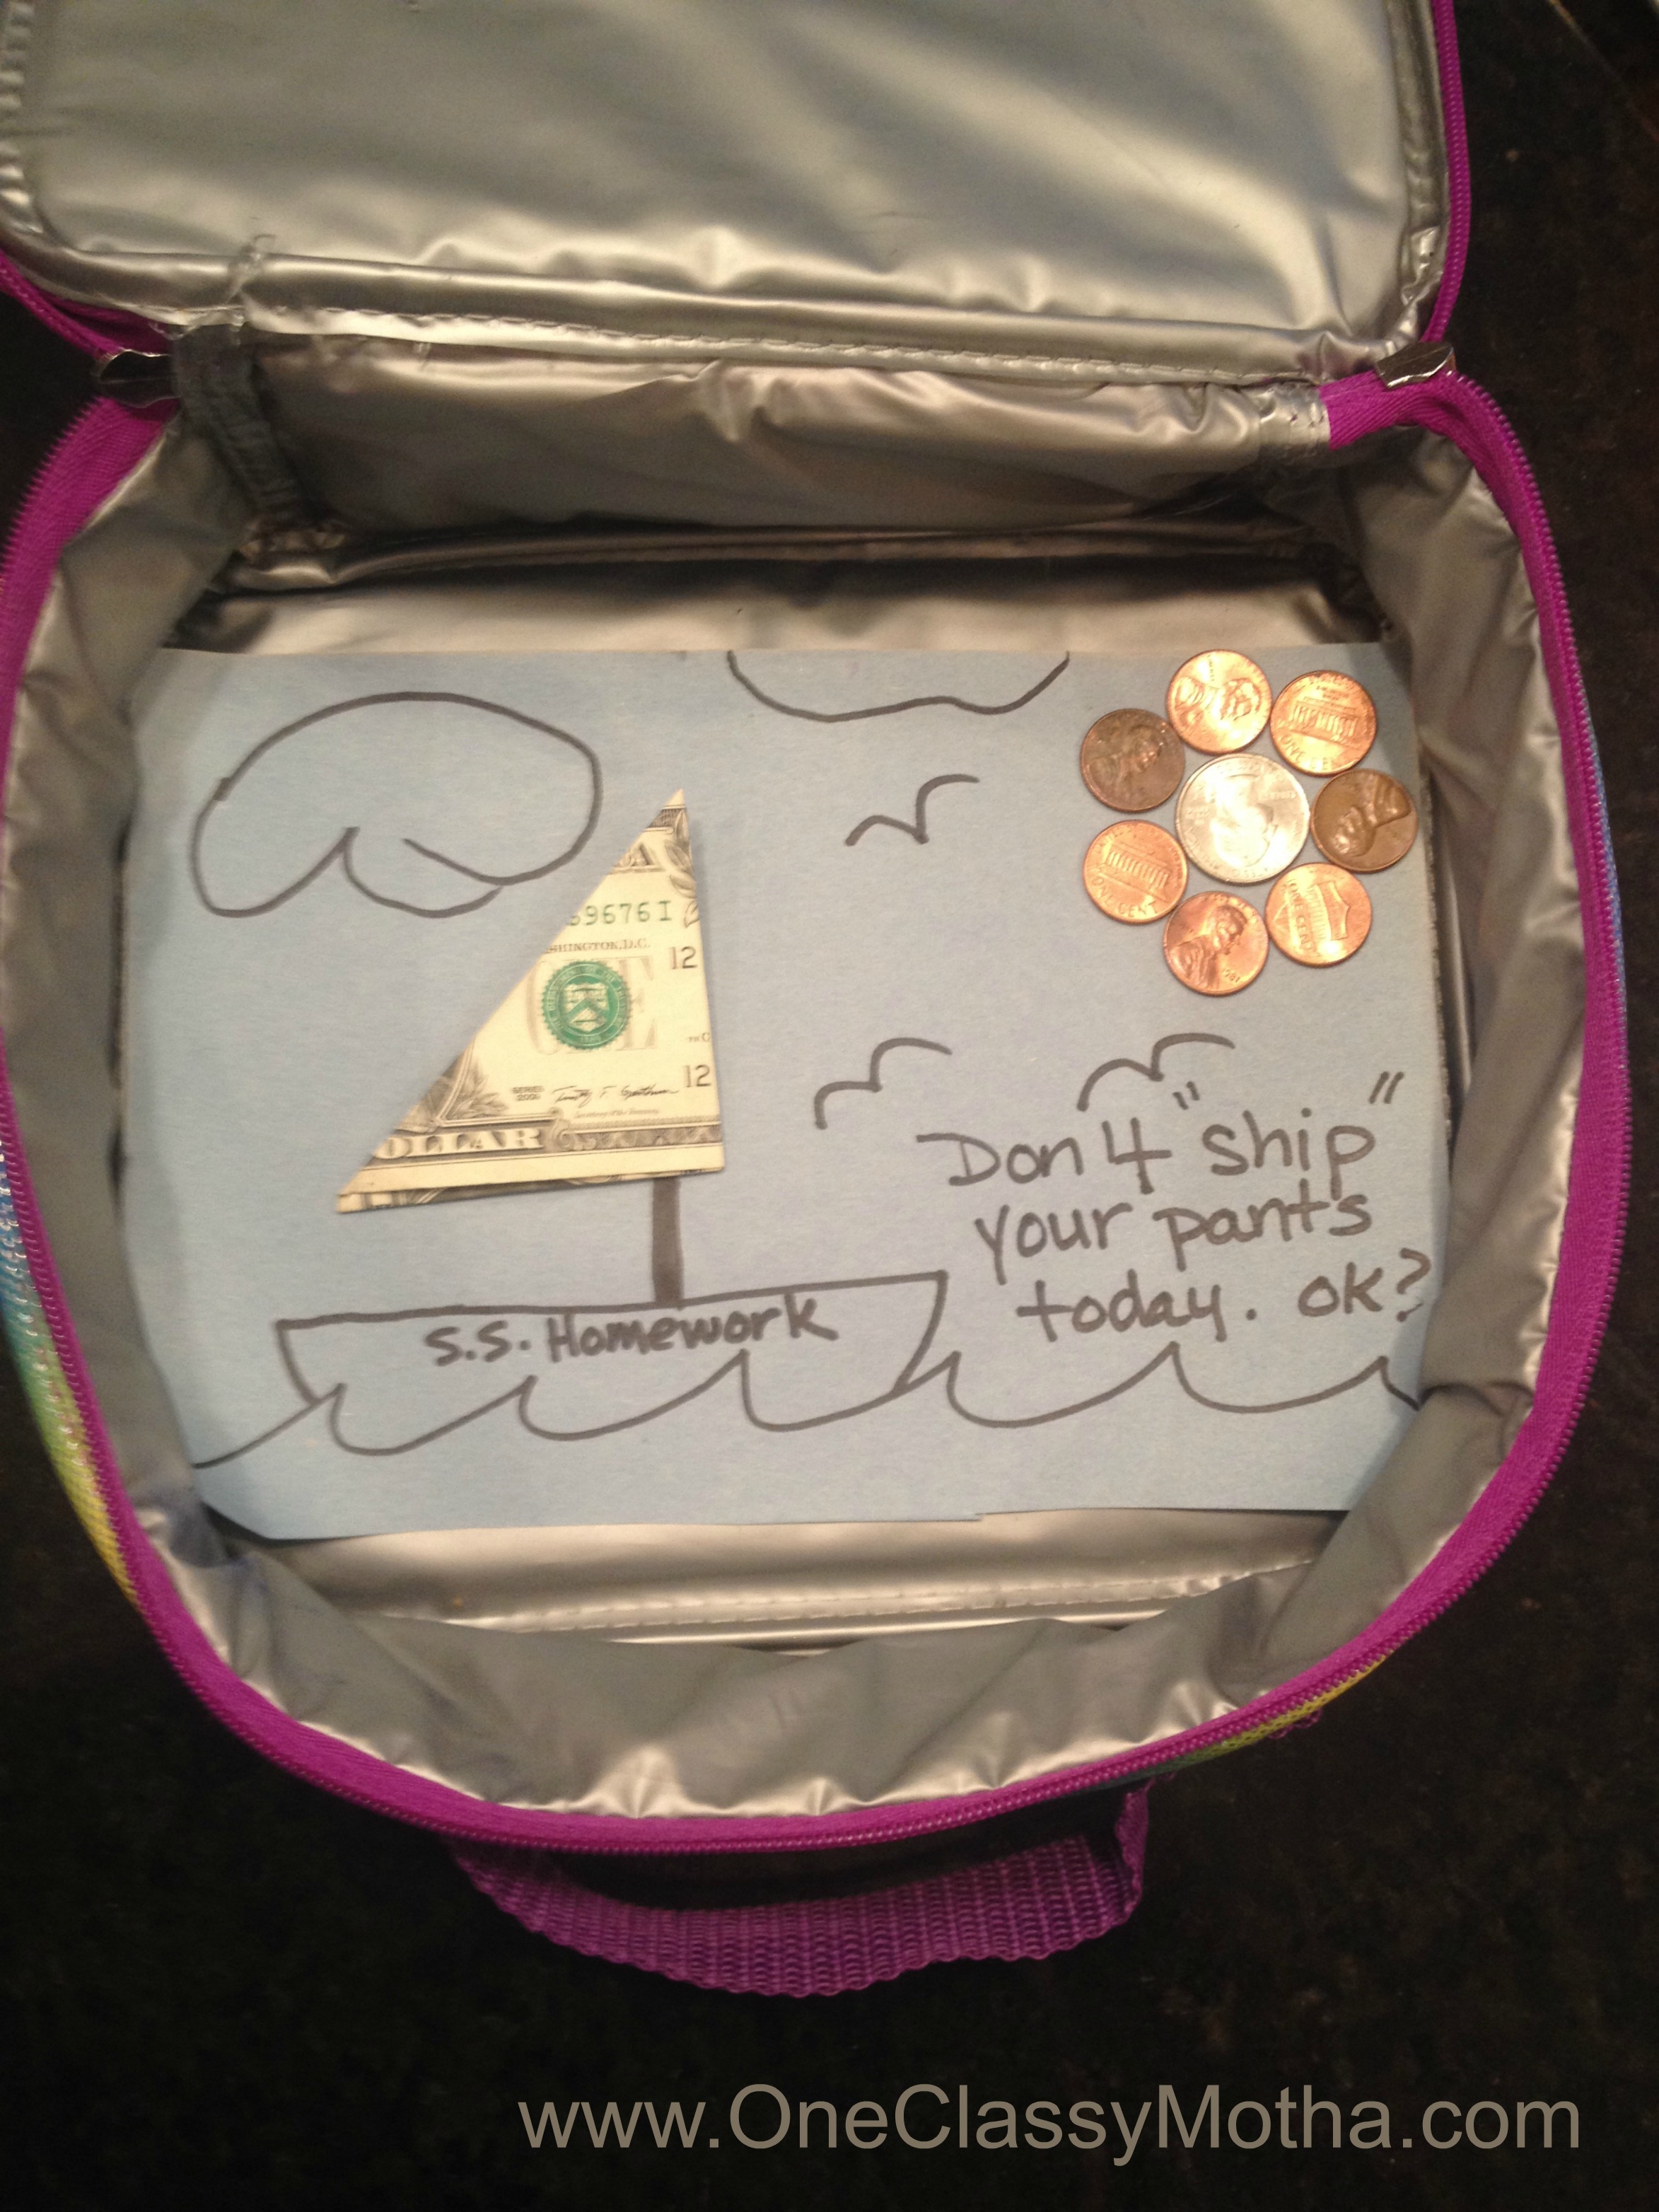
Confronting potty issues:
Offering friendship advice:
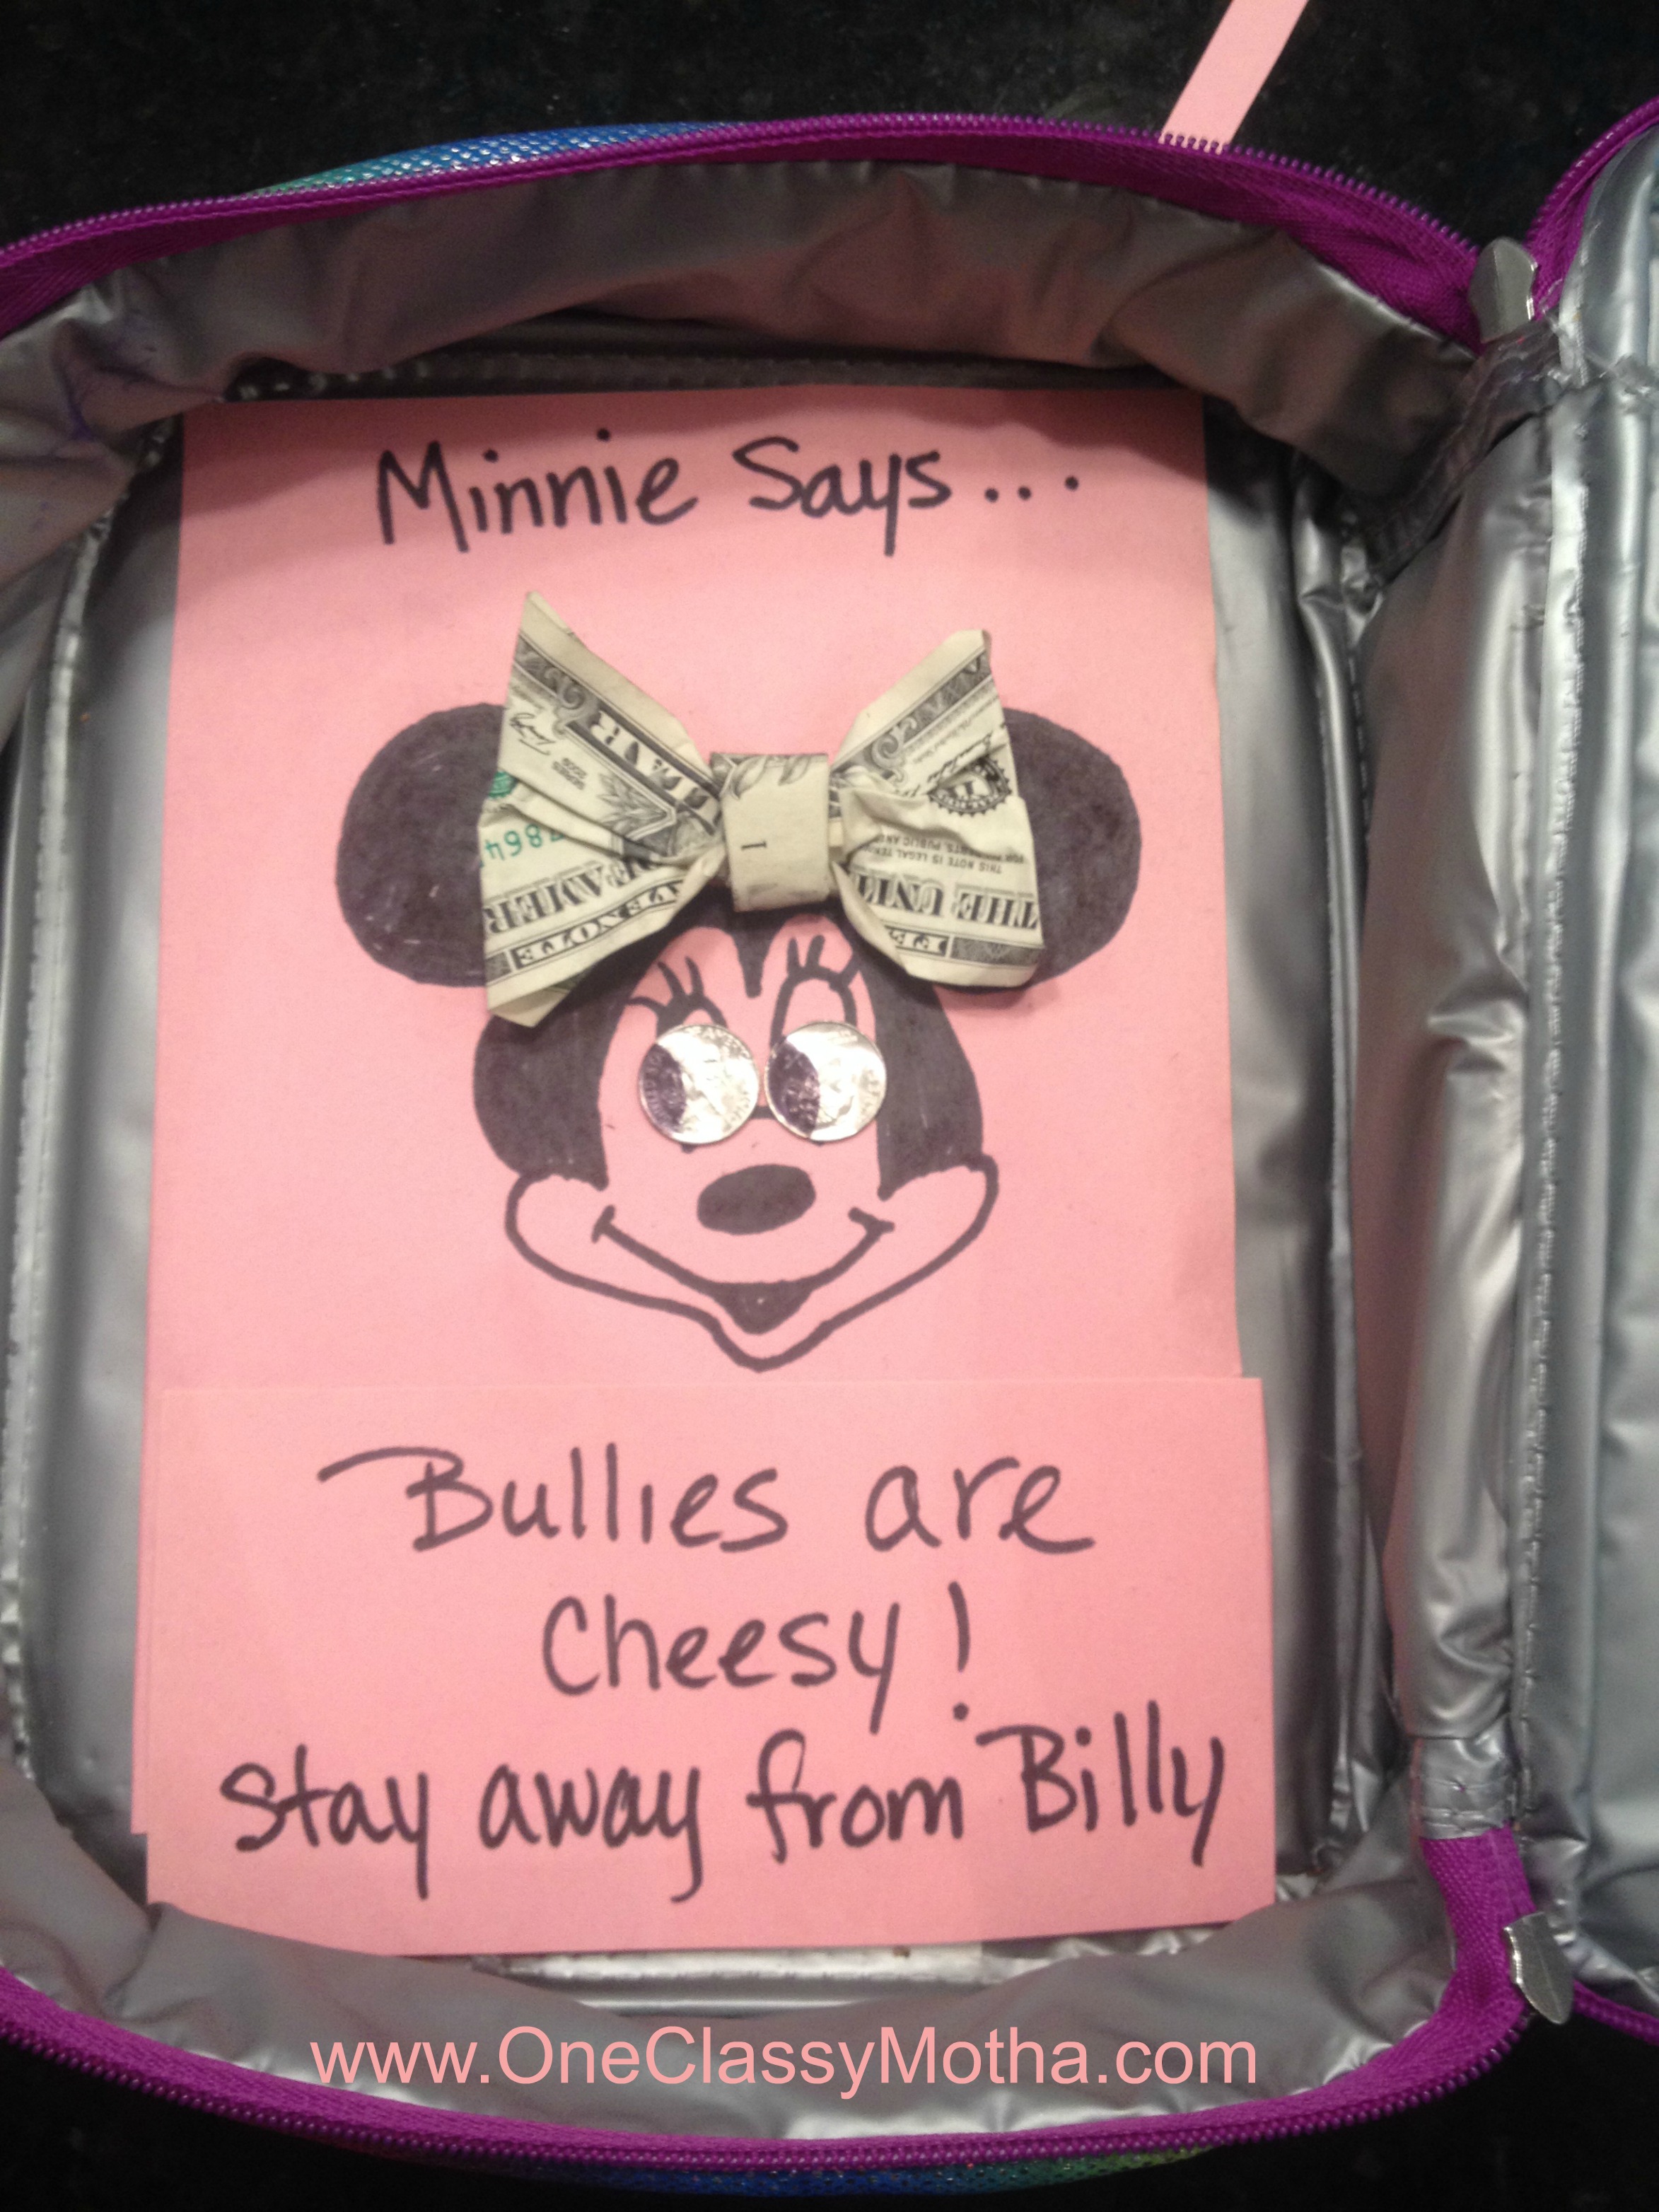
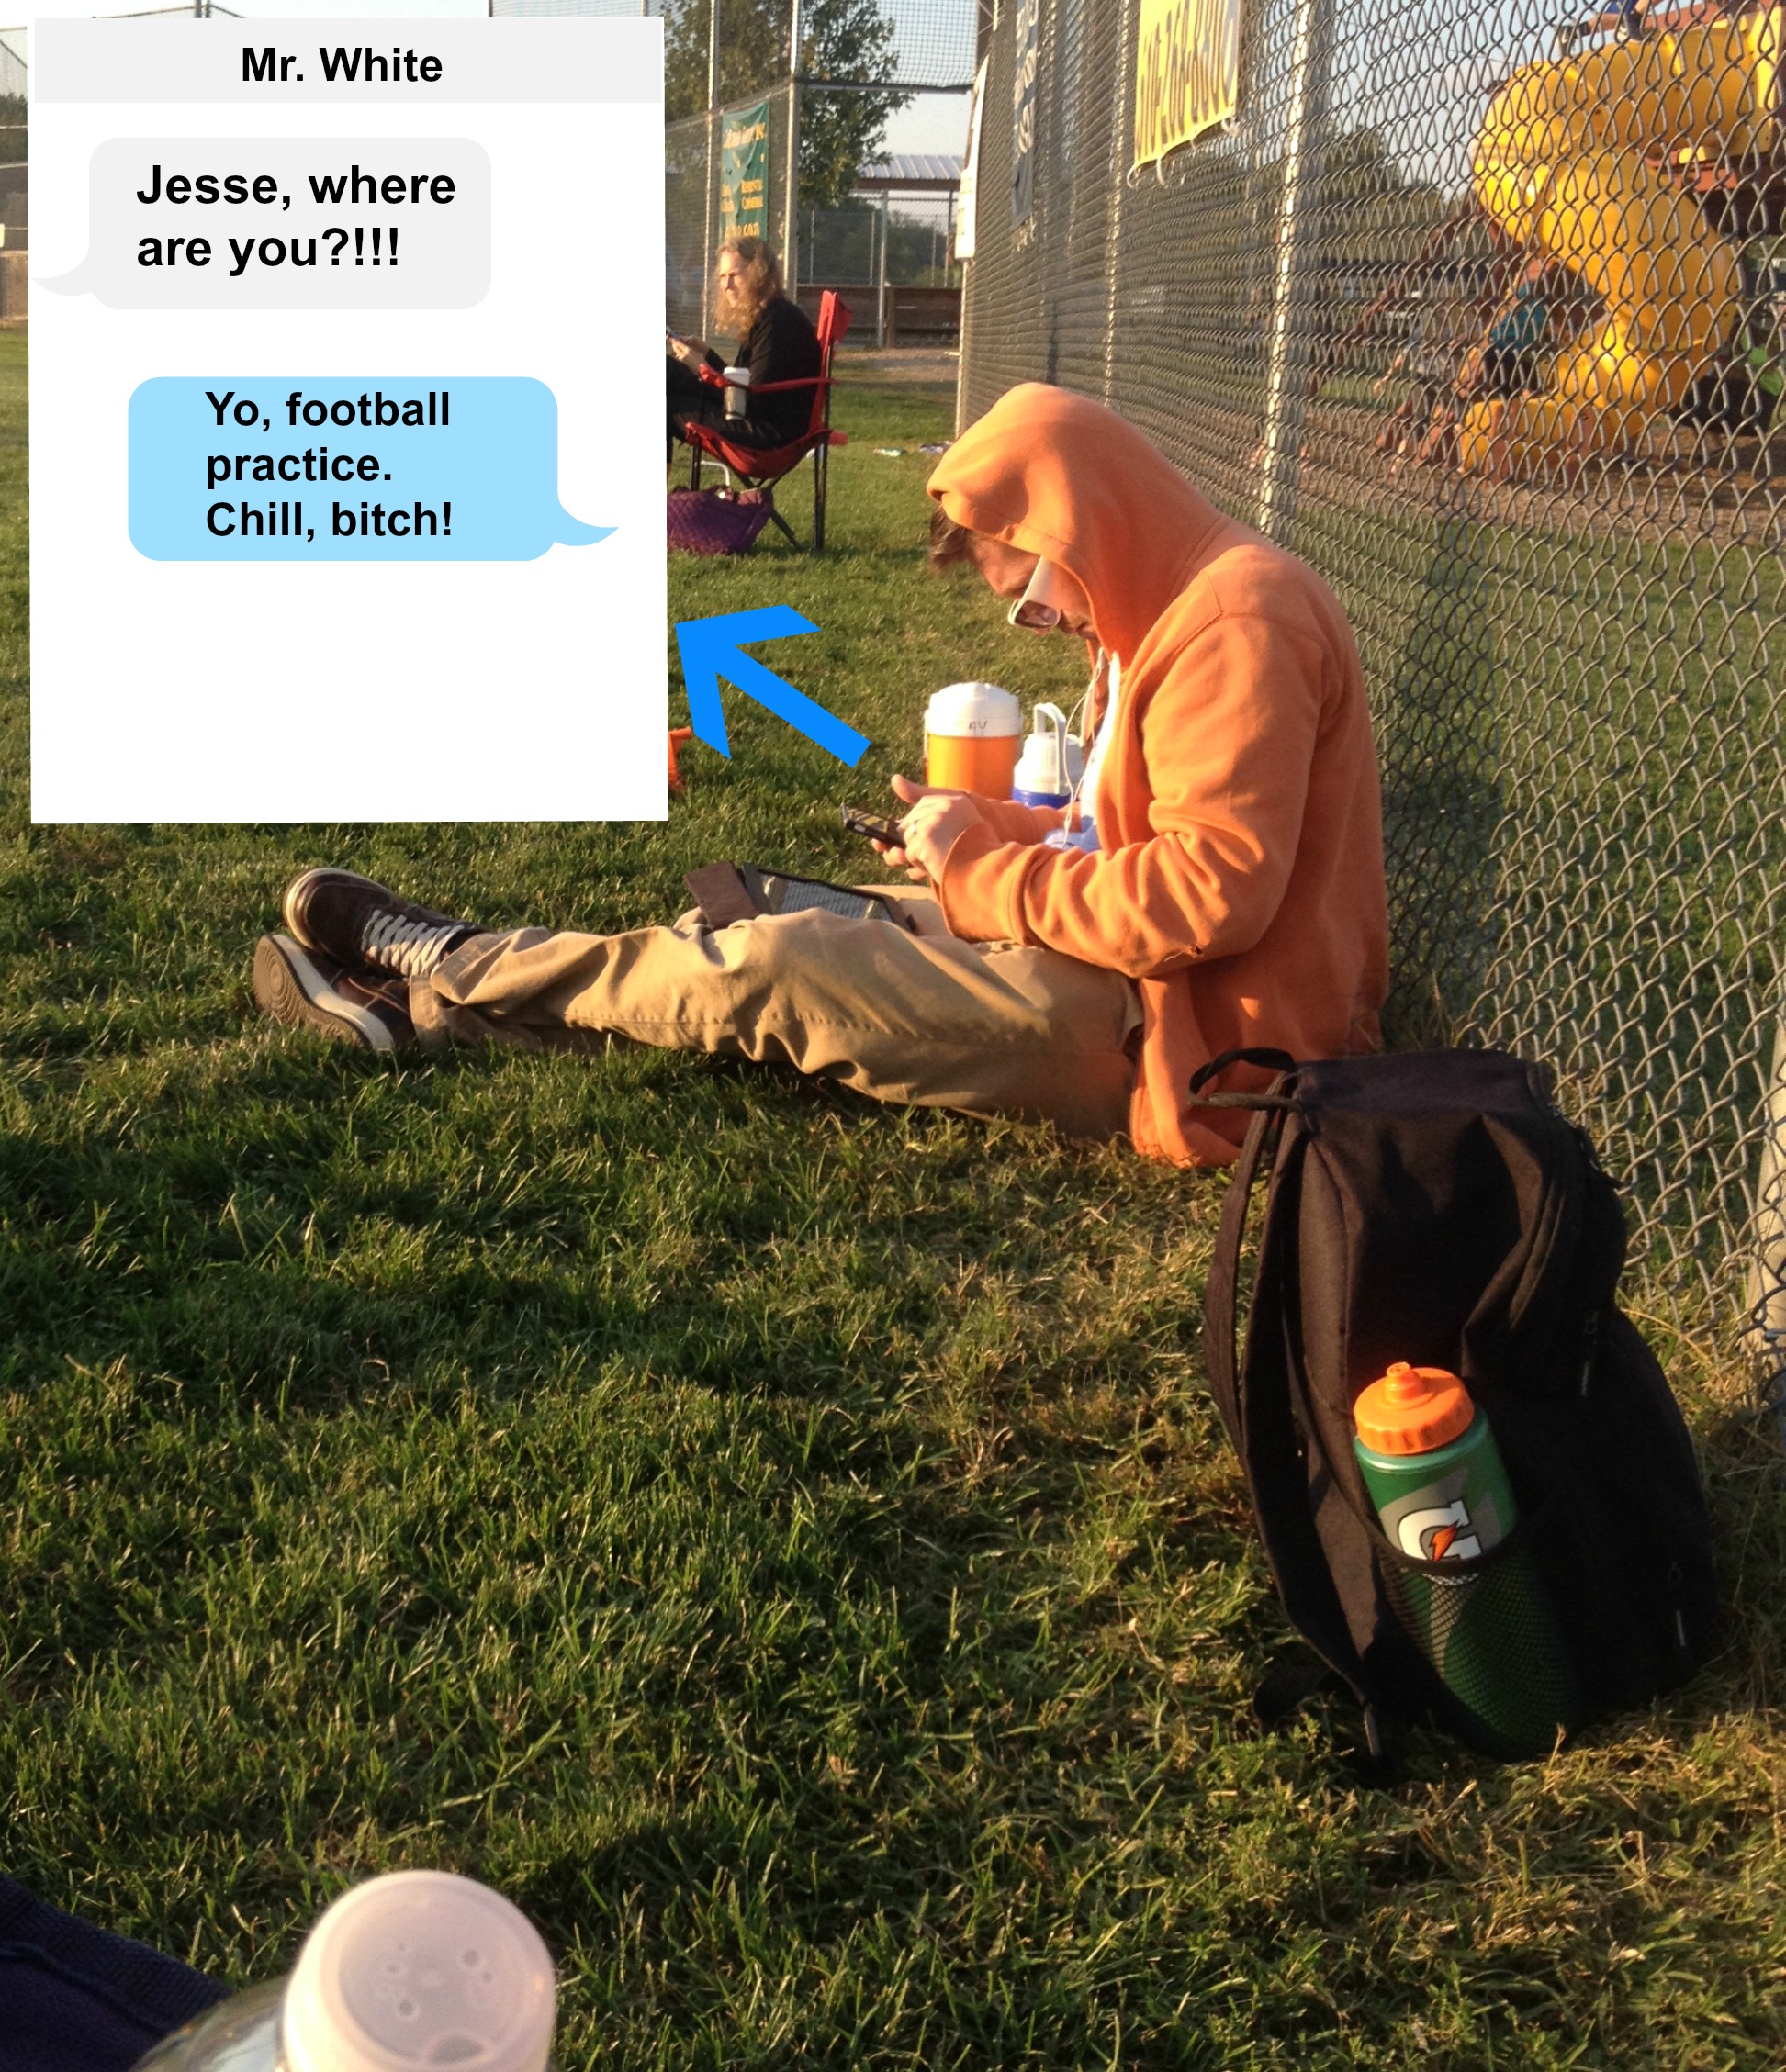
Calling them out:
I realize the “I ain’t got time for that. Here’s some lunch money” Bento Box still requires a minimum amount of effort on your part, which is something I’m normally against, but just think of the look on your child’s face when they open their lunch box and see something like this:
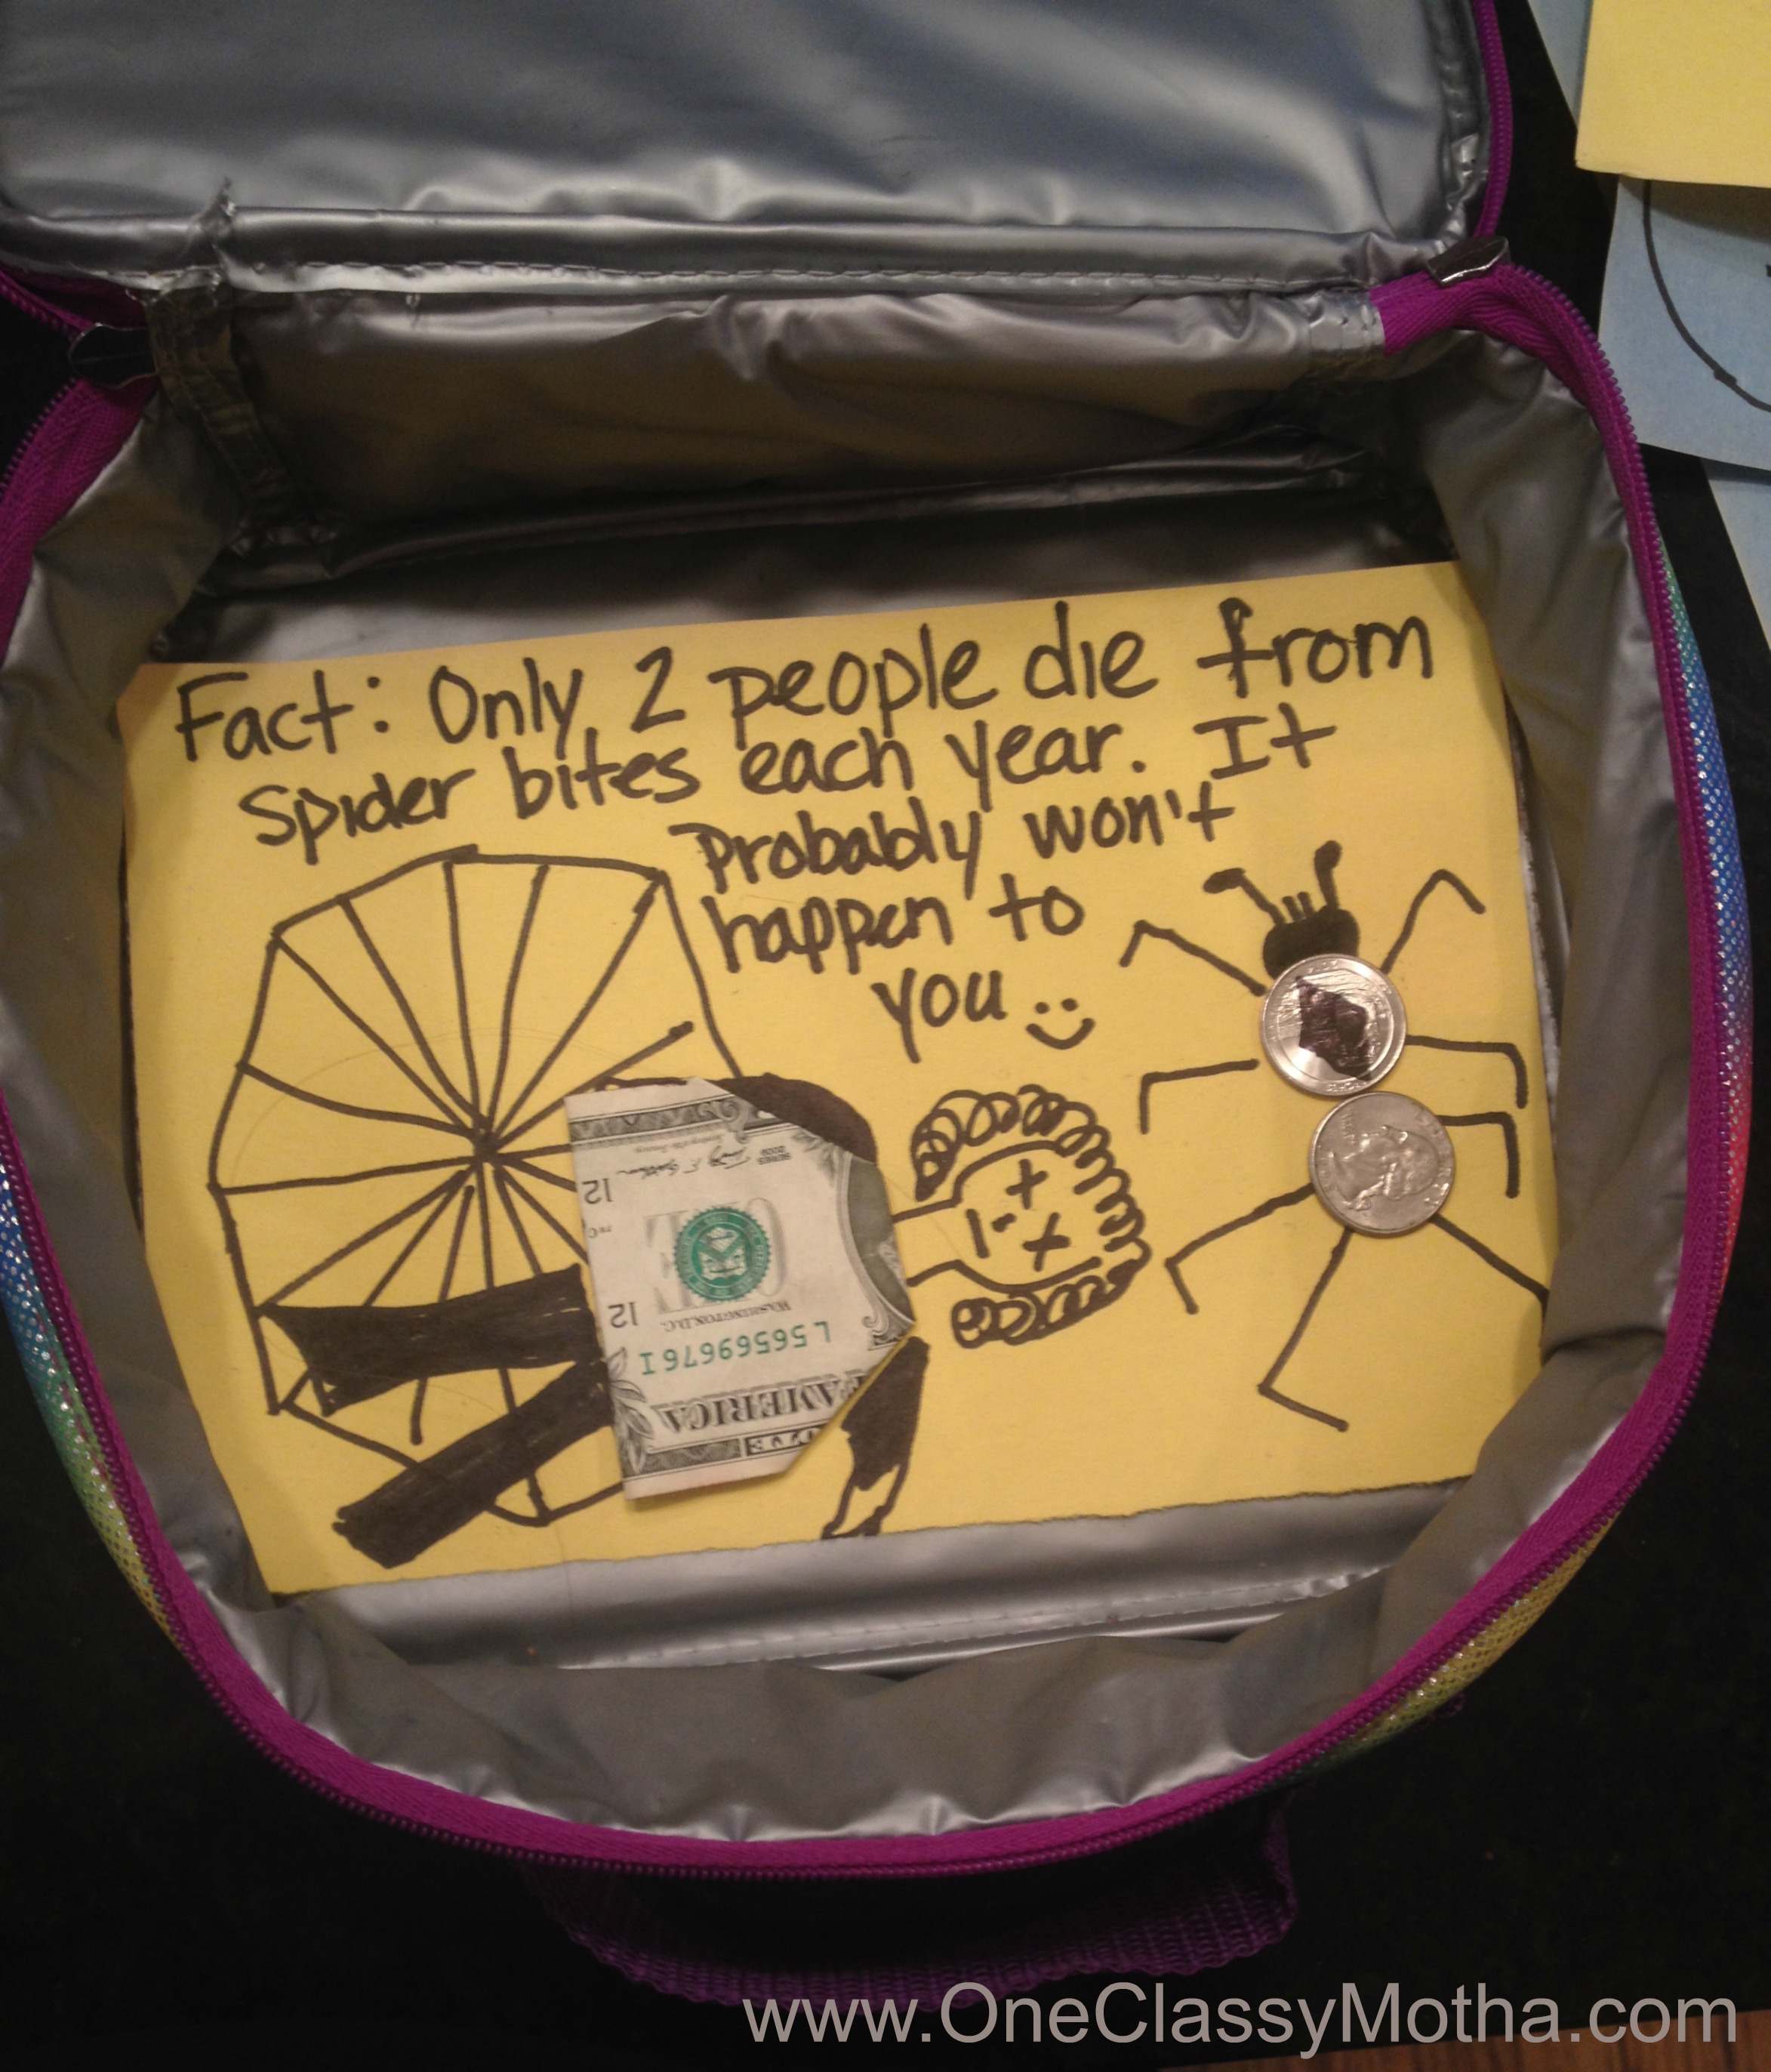
Arachnophobia, cured. “Thanks, mom!”
Ladies, even if your child doesn’t buy lunch, I’m here on my linoleum floor, begging you to step away from the melon baller and to embrace the beautiful quadrilateral simplicity of a square cheese sandwich. After all, you don’t need to win the “MOM OF THE YEAR” title because, as far as your child is concerned, you already have it.
Please send me your “I ain’t got time for that. Here’s some lunch money” Bento Box pictures so I can pin them to my Pinterest “I ain’t got time for that. Here’s some lunch money” Bento Box idea board!